Peacock SB Tutorial
Peacock SB Tutorial
Click on the tutorial picture below to download the IMF zip file for this tutorial.
All images used have been obtained through yahoo groups. If you know the artist/copyright information please let me know so I can give proper credit.


Welcome to my first try at writing a tutorial. Please bear with me as you go through it. If there's anything I need to correct, please email me at ladybug1996@inbox.com and I will correct it. Thanks!
You will need:
Tube of Choice
Graphics Plus - Peacock
Preparation:
1. Open tube of choice. Shift D to duplicate. Resize to no higher
than 350 pixels. Minimize for later.
2. Choose dark color from tube.
We will be making the background first. I will try and word things as easy as possible for everyone.
Background:
1. On your duplicated image, Effects - Image Effects - Seamless Tiling -
use default settings.
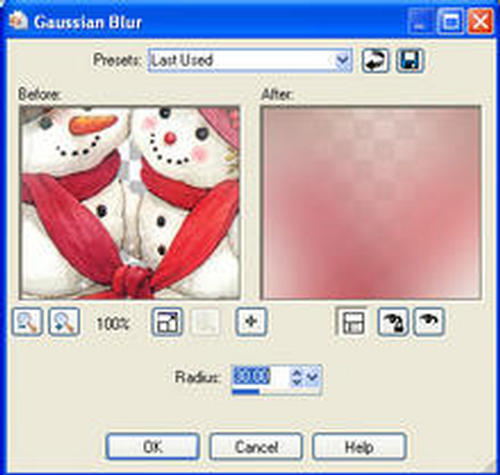
2. Adjust - Blur - Gaussian Blur
3. Effects - Plugins - Graphics Plus - Peacock
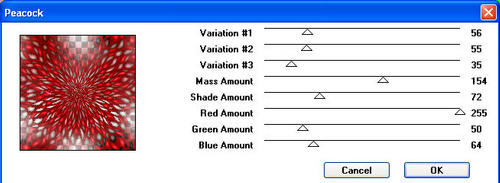
Note - If you are using a different color than I am, you will need to play around with the red, green and blue amounts to go with your tube.
4. Layers - New Raster Layer
Flood fill layer with dark color.
Layers - Arrange - Send to Bottom
5. Layers - New Raster Layer
Layers - Arrange - Bring to Top
Flood fill with white or very light color
Go to layer palette and bring opacity
down to around 55.
Layers - Merge - Merge All
6. Effects - Image Effects - Seamless Tiling (same settings as before)
Minimize this image for use in the side border.
Side Border:
1. Open new image, 1024 X 300 pixels. Raster background, Transparent.
2. Change your foreground to pattern and find the image we just created.
Angle - 0 Scale - 100
Flood fill new image with pattern. Seamless tile with default settings as before.
3. Restore tube and resize (if necessary) to no more than 200 pizels in height.
4. Edit - Copy
Edit - Paste as New Layer (on new background)
5. Move Tool - Move tube to left side of image (see my image for reference)
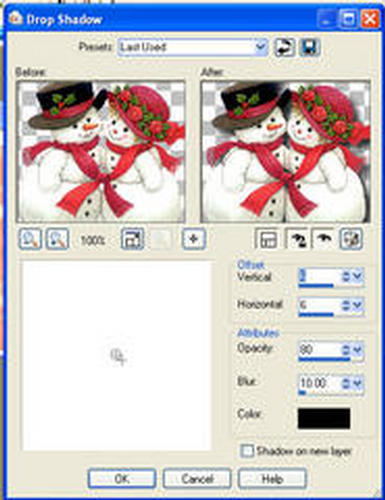
6. Effects - 3D Effects - Drop Shadow
7. Text Tool - Add text you want with font of your choice. I used AnnabelleJF LessItalic. Place your text under your tube.
8. Effects - 3D Effects - Inner Bevel

9. Layers - Merge - Merge Visible
10. Put your watermark info on the image.
11. File - Export - JPEG Optimizer
Compression value set to 20 to 25.
12. Assemble in LC and your done!
Please be sure to link back to the following site:
Thanks to Joy4EH for helping me and teaching me everything she knows!! Love ya girl!!!
A big THANKS goes to JM Creations for helping me get my site up and running!!!