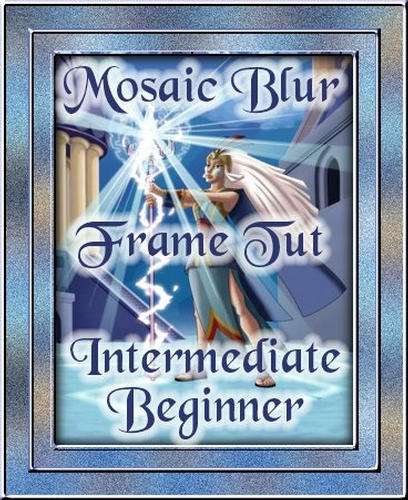
Mosaic Blur Frame Tutorial
Photo Gallery
This is the Mosaic Blur Frame and Background Tutorial. Click on the sample image below to download the IMF file and any supplies that you may need for the tutorial. I do not include plugins in my supplies. Go to my PSP Links page to find links to plugin sites. Thanks!
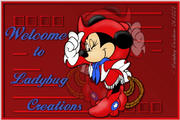
Mosaic Blur Frame Tutorial
with Background
Any likeness to another tutorial is simply coincidental, I came about with this by simply playing around.
Level - Intermediate Beginner
Items Needed:
Graphic of Choice
Plugin: Mock (Mosaic)
Ready? Let's Create!!!
We will be doing this tutorial in 2 parts. The first part is the header and the second part is the background.
Header:
1. Open graphic. Duplicate twice (shift D). Minimize one for later. Close original.
2. If needed, resize graphic to no more than 350 pixels in height. If smaller, leave it.
3. Pick a light and dark color from graphic.
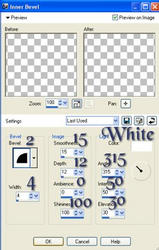
4. Image - Add Border. 5 pixels with light color. Select Border with magic wand. Apply Inner Bevel with the following settings:
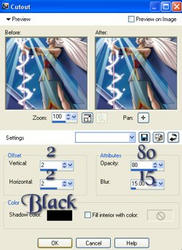
5. Selections - Invert. Apply Cutout with the following settings:
Repeat with negative 2 for Vertical and Horizontal. Selections - Select None.
6. Image - Add Border. 15 pixels with color not in image. Select border with magic wand. Put foreground to pattern and find your other duplicated image. Settings:
Angle: 0
Scale: 50
Fill Border with pattern.
Image - Flip.
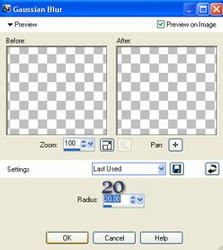
Adjust - Blur - Gaussian Blur with the following settings:
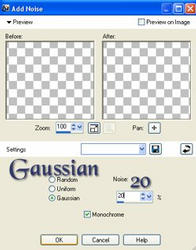
Adjust - Add/Remove Noise - Add Noise with the following settings:
Selections - Select None.
7. Repeat step 4 with dark color.
8. Repeat step 6 with 20 pixels. Before doing Image - Flip, do Image - Mirror.
9. Repeat step 4 again with light color.
10. Put any text you would like.
11. Apply watermark and save as jpg.
Background:
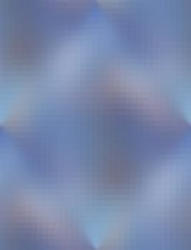
Example of Background:
1. Maximize duplicated image.
2. Apply same Gaussian Blur as in step 6.
3. Effects - Plugins - Mock -Mosaic
Cell Size: 8
4. Effects - Image Effects - Seamless Tiling. Use default settings.
5. Layer - New Raster Layer. Flood fill with light color. Bring opacity down depending on color used to make text friendly. We don't want it too dark or too light.
Layers - Merge Visible.
6. Effects - Image Effects - Seamless Tile. Default settings.
7. Save as jpg.
8. Assemble in Letter Creator!!
Please link back to:
I want to thank all my testers at LBC All Star Testers and CCC Testers for testing this tutorial!!! You Rock!!!
