Melted Brush Strokes SB Tutorial
Melted Brush Strokes SB
Click on the image below to download the imf file in zip form.
All images used were shared through Yahoo groups. If you know who the artist/copyright belongs to, please let me know.
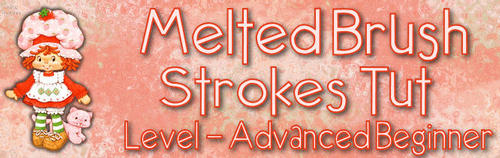

Melted Brush Strokes Tutorial
Level - Advanced Beginner
This tutorial assumes full knowledge of PSP.
Items Needed -
PSP (any version will do)
Tube of Choice
Filter - Brush Strokes
Filter - Mehdi - Melt 1.1
Let's Begin!
1. Open Tube.
2. Resize height to no more than 300 pixels. If smaller, leave it.
3. Edit, Copy.
4. Pick a light color and a medium/dark color from tube.
5. File - New. 1024 X 325, transparent.
6. Selections - Select All.
7. Edit - Paste into Selection.
8. Selections - Select None.
9. Blur - Motion Blur
Settings - Angle - 31 Strength - 100
Repeat Motion Blur
10. Apply Seamless Tile - Default Settings
11. Layers - New Raster Layer
12. Flood Fill with Dark color
13. Layers - Arrange - Move Down
14. Merge Visible
15. Effects - Plugins - Brush Strokes - Angled Strokes (see screen shot)

16. Effects - Plugins - Mehdi - Melt 1.1 (see screen shot)

17. Repeat Mehdi
18. Layers - New Layer
19. Flood fill with light color
20. Bring opacity of this layer down to make it text friendly, usually around 40 - 50, depending on colors used.
21. Merge Visible
22. Seamless tile - default settings
23. Edit - Paste as New Layer
24. Move tube to left.
25. Drop Shadow 3, 3, 70, 10
Repeat with -3, -3, 70, 10
26. Apply Watermark
27. Merge All
28. Export as jpeg
29. Assemble in Letter Creator!
I hope you have enjoyed this tutorial.
Please link back to me at http://www.ladybugscreations.iwarp.com/
Thanks to all the testers at Joy4EH_Ladybug_AllStarTesters for helping me out!!!